How to replace an air conditioner capacitor?
The air conditioner capacitor is an important electric device that can lead to serious problems for the system if not operating properly. It is one of the most frequent causes for malfunction of the motor, fan or the conditioner as a whole, and, for this reason, knowing how to replace it can save you a lot of money. The actual maintenance procedure is not very difficult to perform but requires careful attention and good manual skills. Here is how it goes in steps.
1)– Find about Local Regulations
Get yourself well-acquainted with the local health and safety regulations on the repair and maintenance of electric devices. Remember that working with electricity is a hazardous and potentially life-threading job. If you don’t feel confident or do not fully understand any of the steps below, you had better call a professional to carry out the procedure for you.
2) – Switch off Condenser
Put on your protective gear and find the condenser of the conditioner (this is the box unit of the system that stands outside). Switch the condenser off and run a check with a voltage tester to make sure there is no power in it.
3) – Open Access Panel
Locate the access panel of the condenser (it usually has a label with an electrical warning on it) and open it by loosening the screws.
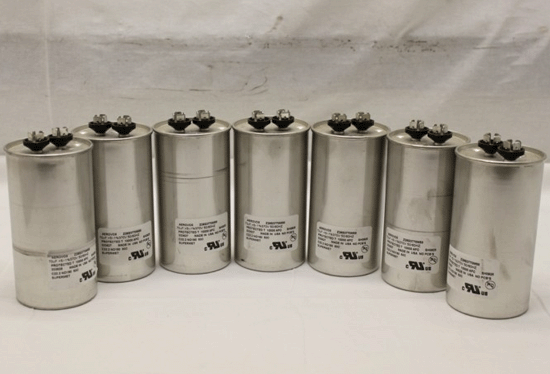
4) – Purchase New Capacitor
Find the capacitor. Typically, it is shaped like a can and should have a sticker on it. Write down its technical data (load voltage, capacitance, tolerance, etc.) and purchase a new capacitor with the same characteristics. Do not worry if the new device is of slightly different shape or size: this will not affect the proper operation of the conditioner; the important thing is that the new capacitor has the same performance properties as the old one.
5) – Look at Old Capacitor
Take a careful look at how the old capacitor is connected to the wires and write down the connections. You will want to connect the new capacitor in exactly the same way.By the way, if you have some background in electricity, you can also use the connection diagram which should be available on the inner side of the access panel.
6) – Connect New Capacitor
Disconnect all wires from the old capacitor and attach them at their respective places on the new one. Alternately, you can carry out this step a wire at a time: disconnect a wire from the original air conditioner capacitor and connect it to the new device and only then proceed with the next wire.Once the wires are all connected, mount the new capacitor in place. If it is not stable, you may want to use a metal mounting strap to fix its position.
7) – Test Connections
Double-check that the wires are connected at their respective places and test the connections by pulling slightly each wire. Tighten up, if necessary.
8) – Check Condenser
Check the operation of the condenser by switching on the thermostat. If there are no problems, screw the cover of the condenser back in place. You are now ready to use your air conditioner once again.


